


A candy board is prepared in advance to imitate the color, the cut section is stretched long and narrow to extend to suitable thickness after arranging each position to be as per the drawing, and then cut. All the processes are done while the candy is hot and soft.


I would like you to see video without fail because the manufacturing process is interesting.
Preparation method
1) In the Kumi candy manufacturing, the design picture is laid as it is on the design drawing. Just before the manufacturing, the Kumi candy workman keeps in mind the work image of all the processes like each part ratio, arranging sequence etc. while making the parts ratio of the candy by his hand

2) At any time during the manufacturing, the workman precedes the work quickly and accurately, while checking the design image in the design drawing. The workman performs the work without stopping almost even for a moment after starting the manufacturing.

3) Piled up text character part. The total number of parts is 44 and that includes every parts of the surrounding upper, lower, left, right, and spacer.

4) Even though the candy is piled up as per the design drawing, it will rapidly collapse due to the soft and white part where the bubble has entrapped by the self-weight. You cannot stop the work even for a moment.
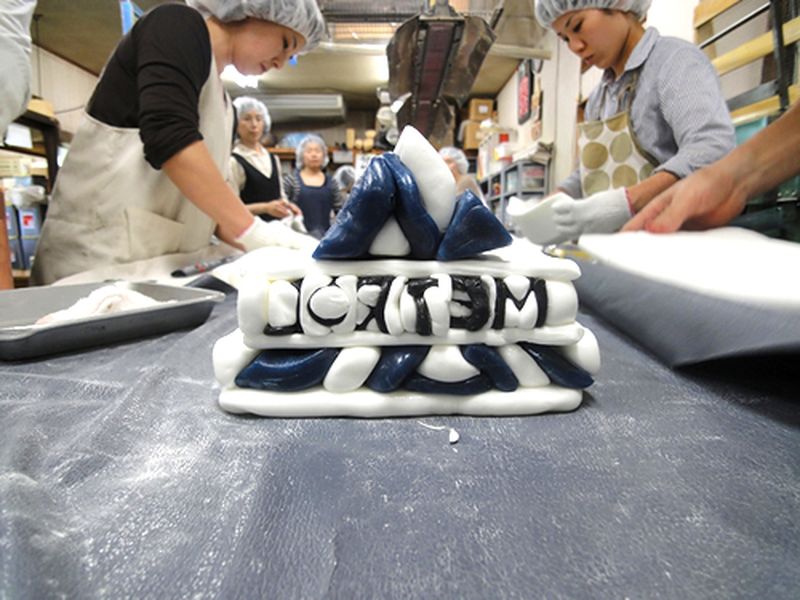
5) Even after piling up as per the design drawing, some quick and delicate work is required. The candy is elongated and then cut. The shape of the candy may collapse if the cutting process fails.

6) Candy before cutting and stretched to about 20mm diameter. The design and characters are beautifully reproduced.
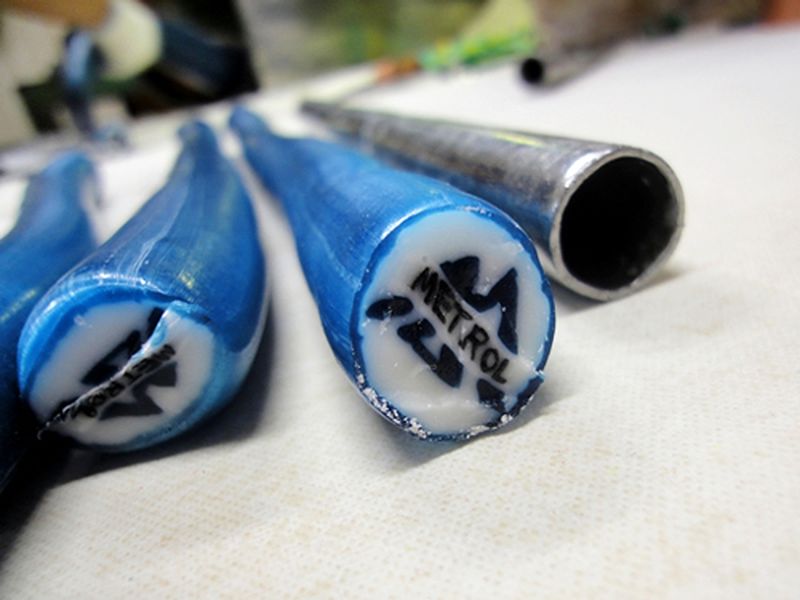
7) The completed “My candy” that is cut to a mouthful size of about 10mm width. Some slight variations in the candy are corrected by handwork.

Kindly check the following youtube video.
No comments:
Post a Comment